
DIY Fashion: Braided Scarves
Yes this post would have been better for the fall/winter weather. Sorry!
This tutorial was inspired by this braided scarf tutorial. I loved the look, and wanted to create something similar but less permanent. Let's get started :)
You will need: two scarves of two different colours/patterns and of roughly the same length and width. Choose thicker scarves for winter/fall, and thinner ones for summer/spring!!

Lay one scarf on top of the other like so. If one scarf is shorter than the other, put the shorter one on top.

Spread the top scarf out like so ...

... And cross the "strands" of the scarf on the bottom like so ...
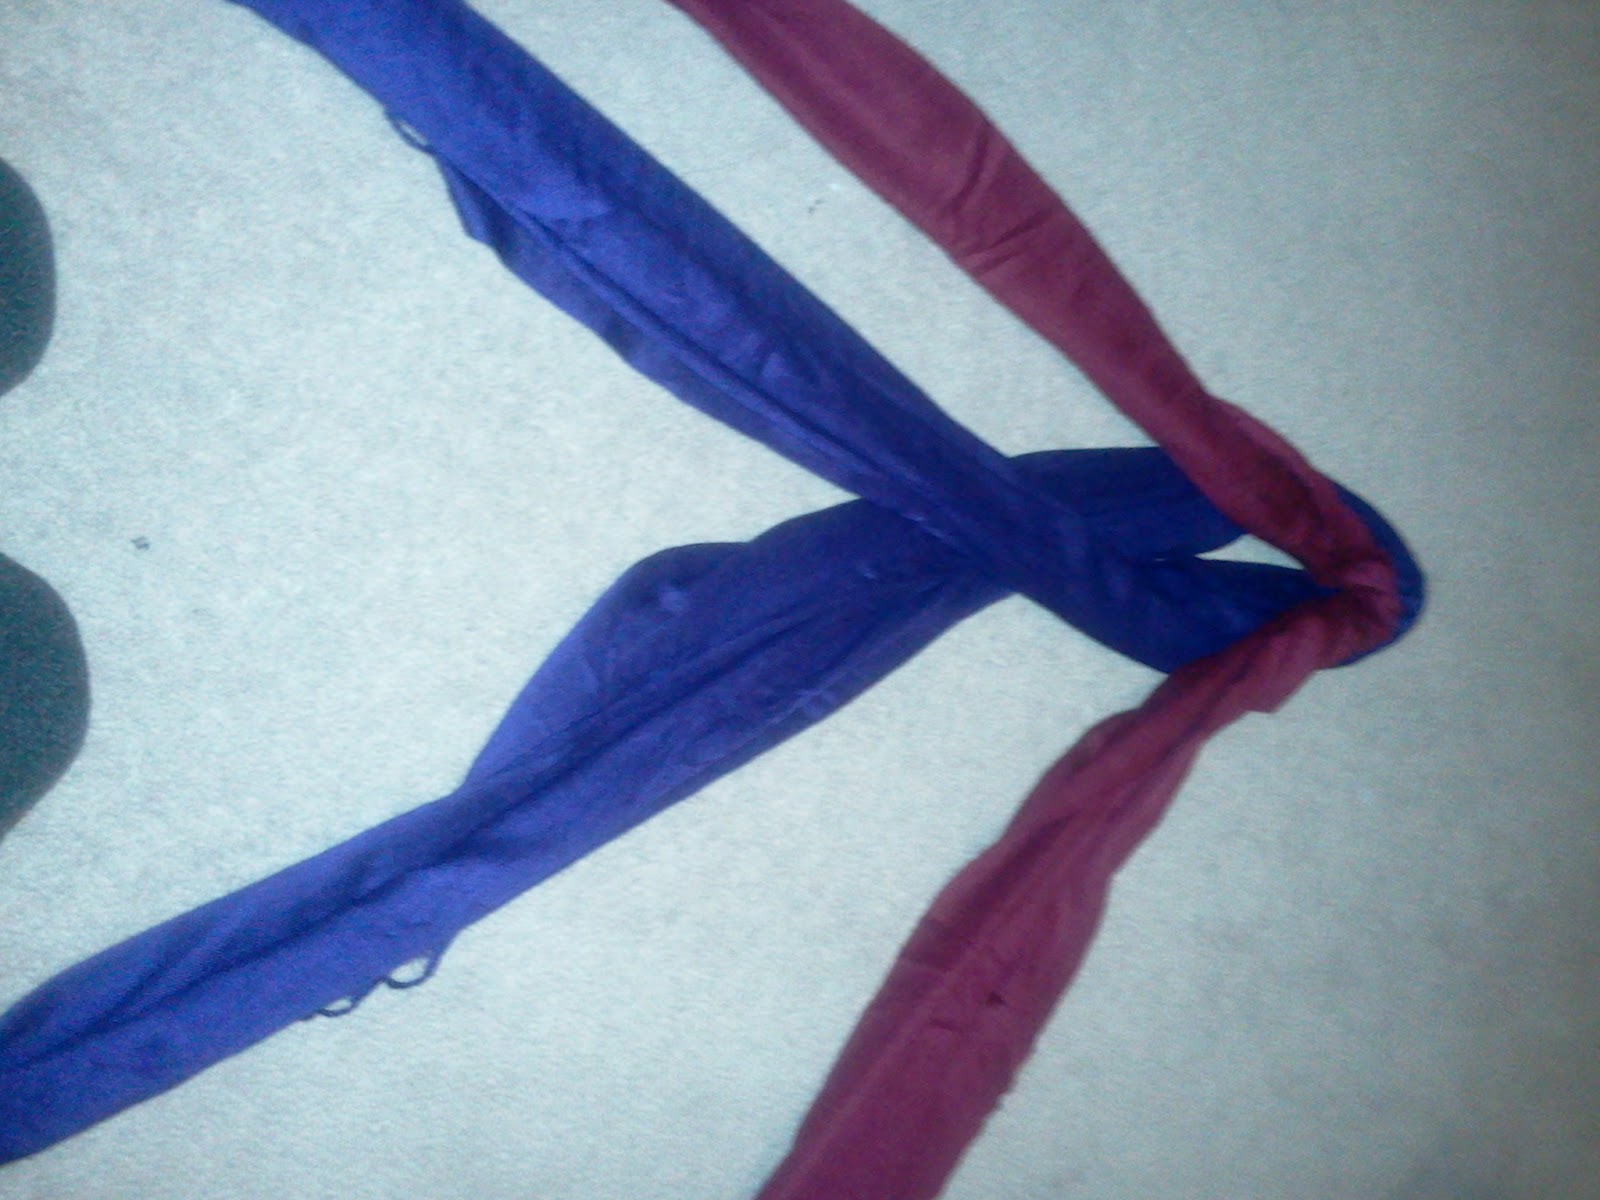
... Then place those "strands" on top of the top scarf's "strands. (This is hard to explain. Follow the pictures, they should be a HUGE help!)

Next, cross over the strands of the scarf that is now in the middle ...

... And put those strands over the strands on the outside!

Then cross the middle strands ...

Put them over the outside strands ...

And I'll stop explaining now but you basically repeat that the whole way down. You're basically doing a four strand braid of sorts.


Continue until you finish braiding!!!

Use the loop at the beginning of the scarf as the loop to stick the ends of your scarves through in order to attach it to your neck, and you're done! This is how the scarf looks from the front ...

My akwardly taken back picture ...


Next time maybe I should get someone else to take the pictures ... and I should take them outside or something hmm? Sounds like a plan! Until then ...
- xox, Jayy

Now this is cool! Something I'll definitely be doing this year! Great blog love the DIYs!
ReplyDeleteXO Kelley
http://www.keepsittingpretty.blogspot.com
Glad you enjoyed! Keep following for more DIYs!
Delete- xoxo, Jayy